7 Things to Know Before Travelling to Viet Nam
Travelling somewhere you’ve never been before can be so exciting, but also a bit overwhelming. Especially when you’re not familiar with how to navigate the city, what to expect or do when on arrival and what to have on hand to make the trip easier.
I’ve put together a list of 7 things to know before travelling to Viet Nam. This guide is specifically geared towards what to have prepared prior to landing in Viet Nam, how to navigate the airport, and your international travel essentials such as SIM cards, currency and transportation on the first day. I hope this helps your with your trip planning!
- Visa Requirements
- What to Expect at the Airport
- Getting your SIM Card
- Making it through Immigration
- Baggage Claim at the Airport
- Best way to get a Taxi to your Hotel
- Currency Exchange
1. Visa Requirements
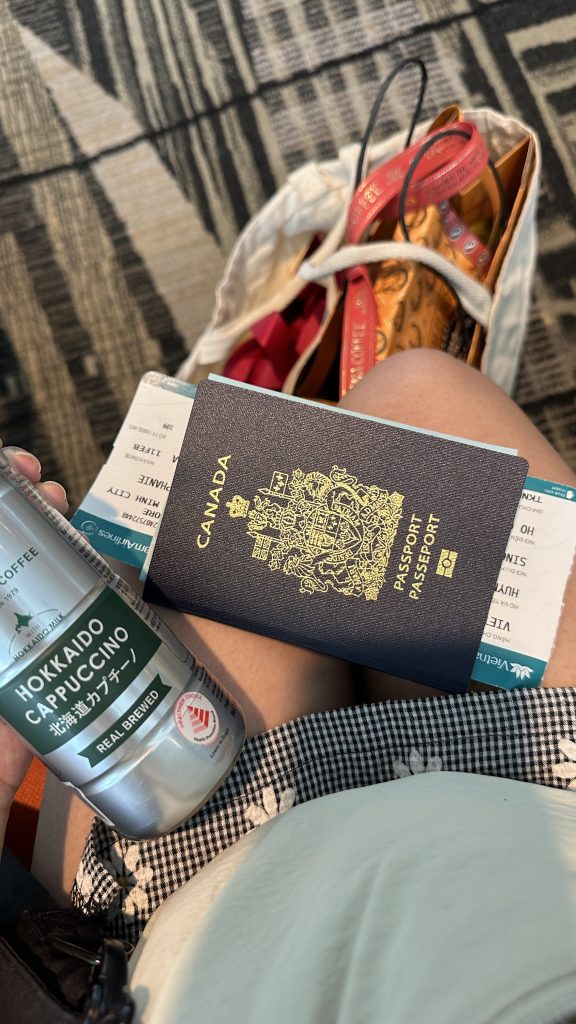
In this section, I will be talking specifically about the electronic visa (E-visa) to enter Viet Nam as a visitor. As a visitor you are required to have an e-visa prior to your arrival to Viet Nam or you will be denied entry. It is important to obtain this ahead of time as it takes a few days to process your application and receive your E-visa.
Note: there are select countries that are exempt from this visa requirement and I would recommend you check out your countries travel advisories or the Viet Nam National Authority of Tourism for more information. There are 13 countries that are exempt from this visa requirement and the visit duration is up to 45 days.
The e-Visa allows you to enter any of the 13 international airports in Viet Nam for a total trip duration of 90 days. You can choose between purchasing a $25/single entry e-visa or a $50/multiple-entry e-visa. Choose the multiple entry option if you are planning to enter and exit Viet Nam during the duration of your stay (eg: if you are flying out of Viet Nam to visit another country, then planning to came back to Viet Nam during this 90 day period, you will need a multiple-entry e-visa).
2. Arriving at the airport
18 hours of flight time later – I made it to Ho Chi Minh City all the way from Canada! In Ho Chi Minh city, the airport is called Tan Son Nhat International Airport (SGN).
On landing in Ho Chi Minh, you will notice that you are not actually at the gate just yet. Rather the plane parks in an open area while the airport staff direct you down the plane stairs and onto a bus shuttle. This bus then takes you to your arrivals gate. Be prepared to be packed tightly onto this shuttle, shoulder to shoulder with other passengers from the flight. It does take some time for all the passengers to de-plane, so make sure you don’t have immediate plans right on arrival, as the arrival process is lengthy.
This will be the similar when you are departing from Viet Nam. Depending on the size of your flight, you may board directly on to the plane from the gate or get loaded onto the bus shuttle to get onto the plane. Either way, when you are leaving Viet Nam, make sure to plan to be at the airport 3 hours early prior to your flight departure time. (I’ll cover more about departures in a later blog).
3. SIM Cards
Welcome to Viet Nam! At this point, you likely are still in airplane mode from the flight and will need to get access to data in order to be able to navigate the city. The next step after landing is heading over to immigration. You’ll notice along the way there are kiosks selling SIM cards near the immigration lines. I’d suggest you get into the immigration line as soon as you can (as processing time is lengthy). There are more kiosks selling SIM cards on the other side of immigration, so you can get one on your way out. In the meantime, if you’re looking for data, there is free wifi at the airport.
For SIM card companies, I used Vinaphone, which was fast and reliable during my time in Ho Chi Minh. I’ve also heard that Vietele is another good option for data as well.
Tip: Pre-download an offline version of the map of your destination city. If for some reason you choose not to get a SIM card or if your service is ever disconnected, you can at least still find your way with offline Google maps.
4. Immigration Lines
The lines are long at immigration and I can’t say they moved very quickly either. I also noticed that certain lines moved a lot faster than others depending on the officer you have. Be prepared to be here for a little while, as there are long cues and long wait times. Be sure to have your passport, e-visa and boarding pass ready for processing.
Tip: if you notice that certain lines are moving a lot faster than others, consider moving over to that that line for processing.
5. Baggage Claim
Baggage claim is the next area after exiting immigration and there are a couple things to be aware about that will make this process smoother for you:
- You may notice that during peak hours, there are airport workers who offer to help you find your bags, get a cart, etc. At first this seems like friendly airport service, but know that they are also looking for a tip from you when they’ve finished helping you gather all your things.
- During peak hours, the energy at the airpot is chaotic to say the least! Be prepared for everyone to be crowded tightly around the baggage conveyor belt, leaving minimal room to walk through to pick up your baggage. What I learnt from this experience is to just politely (but also firmly and confidently) walk through this crowd to retrieve your bag when you see it. No one will be moving or getting out of your way if you are shy about it.
- Sometimes if you’re not seeing your bag, it may have been moved off to the floor along the side, so I’d suggest walking around and checking to see if it’s off the belt.
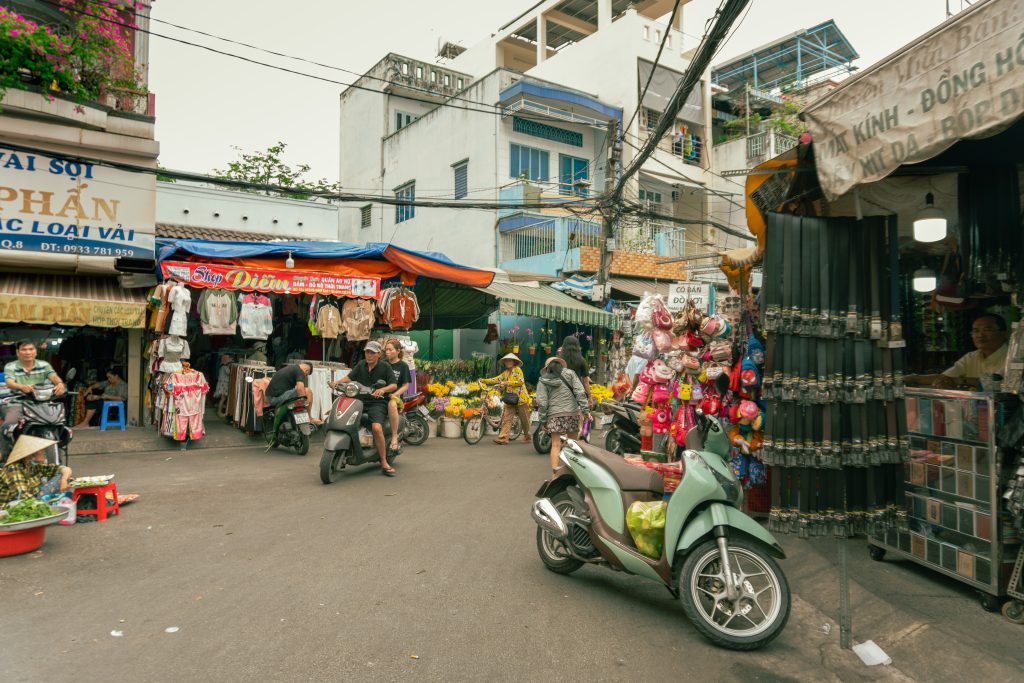
6. Getting a Taxi to your Hotel
Walking out of the airport was like walking onto the red carpet (I’ve never done this, but I imagine this is what it feels like). It can be really overwhelming, especially being jet-lagged from a long flight! To make the process to getting a taxi a bit easier, here are some tips on what be aware of to not get scammed on your ride:
- Download a ride-hailing app and book a ride through the app – This is the recommended way to book a ride anywhere in the city and you can rely that the price is fair and ride is dependable. There are many ride apps in Viet Nam and a couple that I’ve used that were great were GRAB or Gojek.
- Hop on a Vina Sun or Mai Linh Taxi – On exit from the airport, take a left towards the taxi stand area. Along the way, you’ll notice that there are multiple taxi services and representatives offering you a ride. Ignore these companies and don’t hop onto the first one you see, as they tend not to have fair prices for visitors. Walk all the way to the end where you will see Vina Sun taxi or Mai Linh. These were recommendations given to me from a local, as many of the other cab companies may not run their meters or charge unfair prices to tourists. I’ve used both these cab services multiple times from the airport and never had any troubles.
More tips to be aware of when hailing a taxi (if not using the app):
- Some taxi drivers don’t speak much English, so make sure to have your written address handy to make the process smoother. I also like to show the taxi driver the location on my map to confirm the destination and avoid mis-communications.
- Be sure their taxi meter is running to ensure a fair price. If they do not have a taxi meter or refuse to use one, then decline the ride.
- I always like to have my Google maps running just to ensure we are going in the right direction of the destination.
- Asking your hotel to call a ride for you is always a great option when booking a taxi.
7. Currency Exchange
The Vietnamese currency is in Dong. The first thing I did was head to a jewelry store to exchange my Canadian currency to Vietnamese Dong. I know what you’re thinking, a jewelry store to exchange your money?
A locals tip: the exchange rates are always better at a jewelry store than the airport currency exchange or at a bank.
When first arriving to the city, you can have a bit of Vietnamese Dong if needed to take a taxi or purchase items immediately depending on your time of arrival. But it’s better to exchange money as you go in Viet Nam rather than exchanging it before hand in your home city. For my full trip duration, I used cash for all my purchases and I would also recommend this as most markets, street food stalls only take cash.
I was lucky to have a local guide take me to some reputable jewelry stores for exchange (the ones I went to were not English speaking, so I did not list them list here). I did receive recommendations from friends that there are many jewelry stores behind the Ben Thanh Market in district 1 that offered good rates for exchange. As always, just double check the daily rates on Google currency to ensure you are getting a fair rate exchange.